
6 min read
Jun 23, 2026
A flat roof leak is water entering the building through a failure in the roof membrane, its seams, flashing, or drainage points. Unlike a pitched roof, a flat roof drains slowly, so water sits on the surface and works through the smallest weak spot. The right repair depends almost entirely on your membrane type, so the process is: find the leak, identify the material, then apply the matching fix.
Flat roofs leak differently from sloped roofs because water does not run off quickly. Standing water finds seams, cracks, and worn spots and pushes through under its own weight, often far from where the damage actually is.
A flat roof is also a single continuous membrane rather than overlapping shingles. That means most leaks happen at seams, flashing, penetrations, or in areas where the membrane has blistered, split, or thinned with age.
Because water travels sideways under the membrane before it drips inside, the stain on your ceiling rarely sits directly below the entry point. Locating the true source is the hardest and most important part of any flat roof repair.
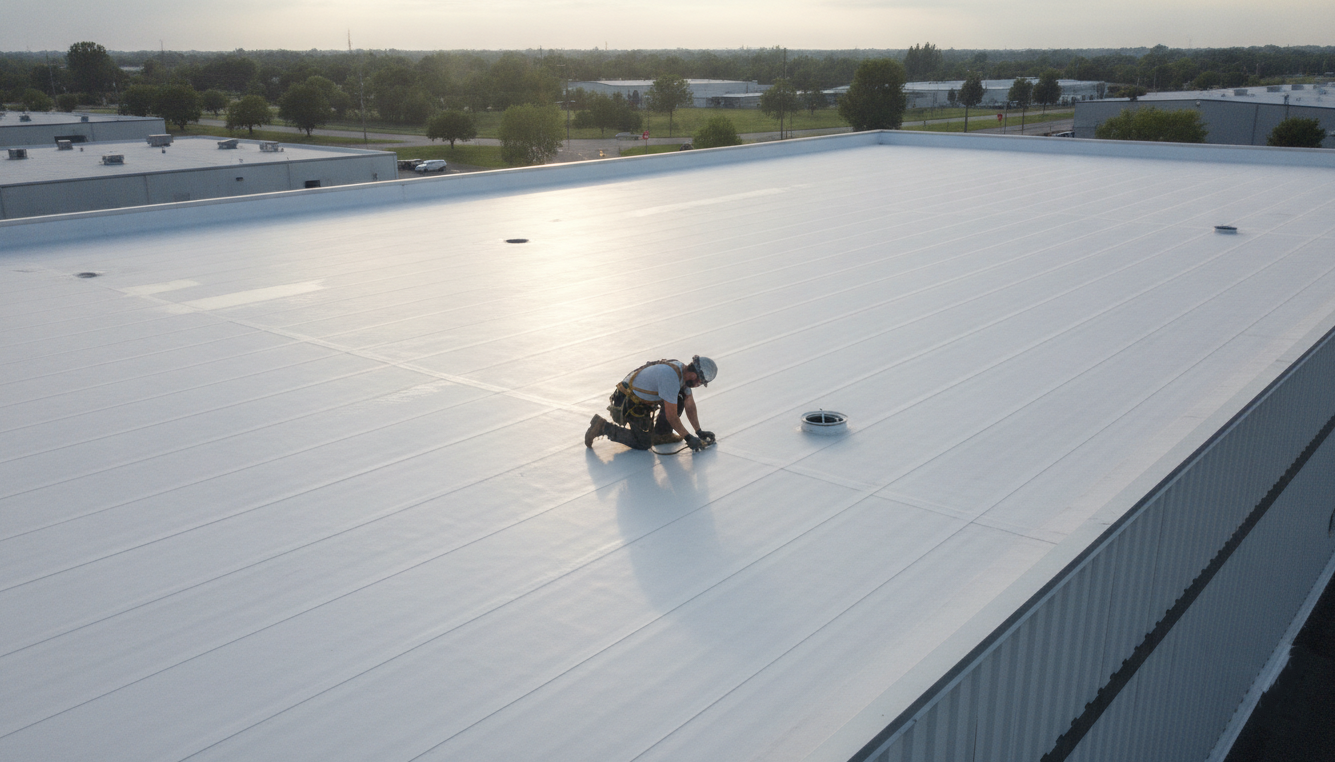
Finding a flat roof leak means inspecting the membrane surface, not just the spot above the interior stain. Water enters at a weak point and travels along the deck until it finds a way down, so the entry point is usually uphill from the visible damage.
Start inside the building. Note where the stain or drip appears, then measure that location relative to rooftop features such as vents, drains, or skylights to find the corresponding area on the roof.
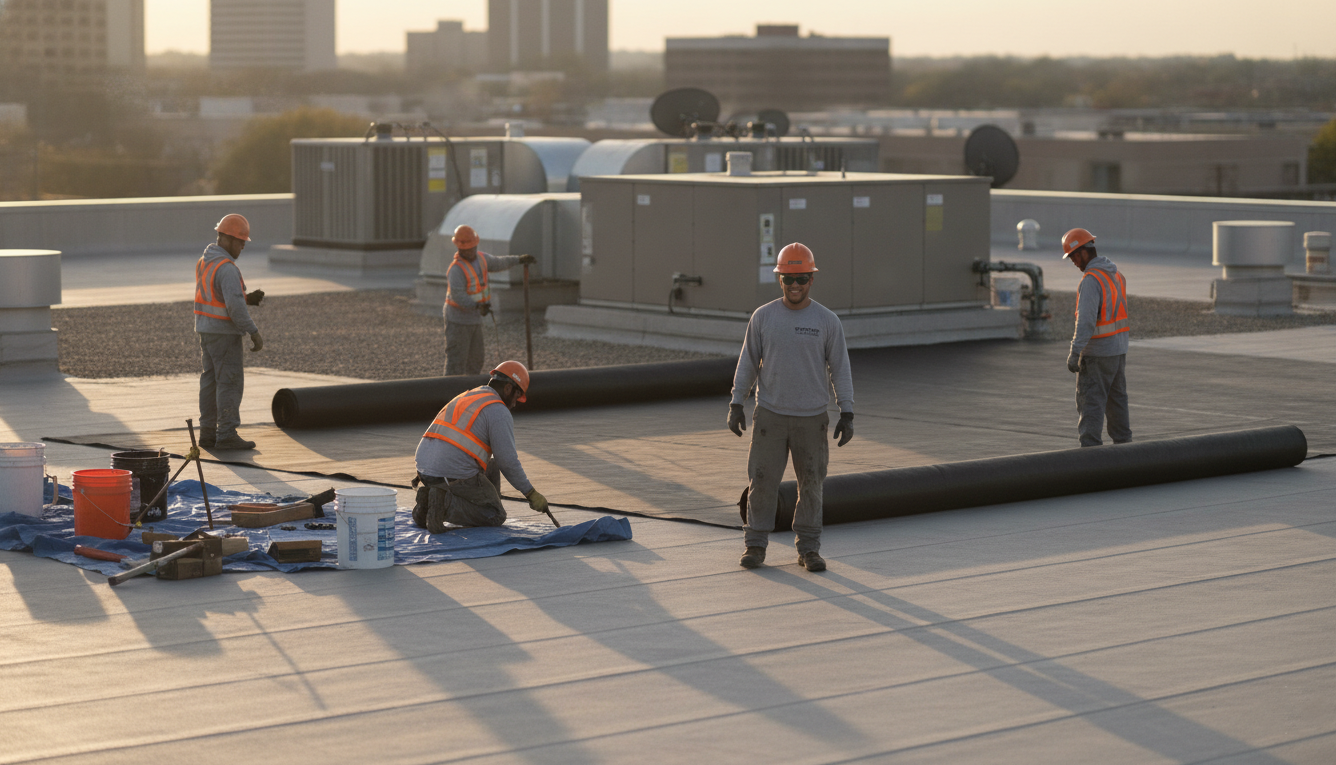
Inspect the membrane surface in dry conditions. Walk the roof and look for the most common failure points:
If a visual check is inconclusive, run a flood or hose test. Block the drains, flood one section at a time, and have a helper watch inside for the moment water appears. Test the lowest areas first and work upward to isolate the source.
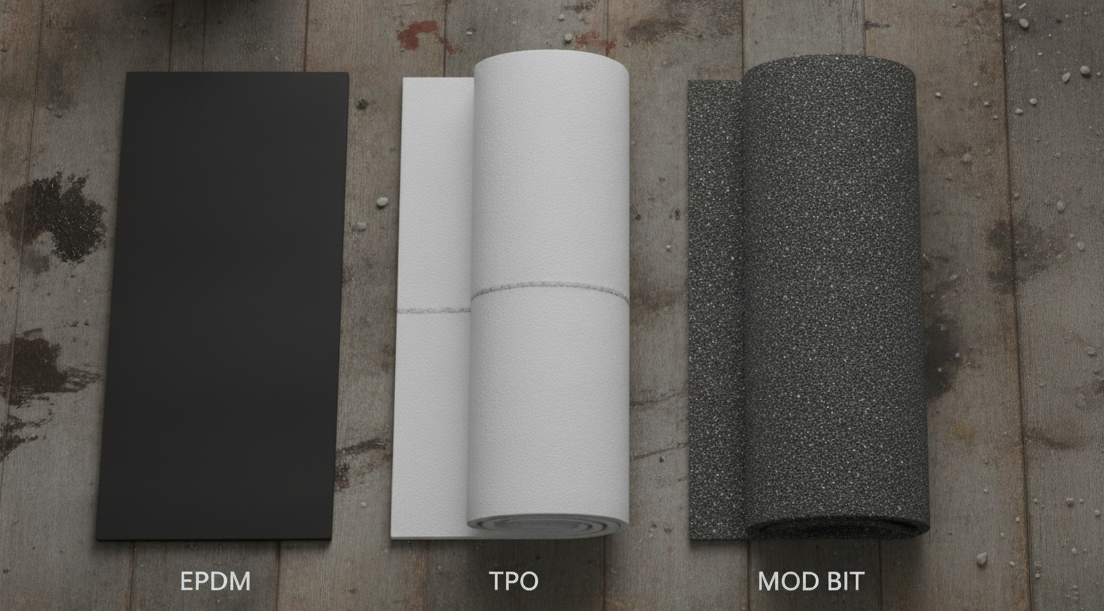
The repair method depends on which membrane your roof uses, so identify the material before buying any patch product. Four types cover most flat roofs.
EPDM is a black synthetic rubber membrane, usually loose-laid or glued, with a matte rubber feel. It is the most common material for residential flat roofs.
TPO and PVC are single-ply thermoplastic membranes, typically white or light gray, joined with heat-welded seams rather than adhesive. The welded seams are the visual giveaway.
Modified bitumen is an asphalt-based roll membrane, dark and slightly granular, installed in layers by torch or cold adhesive.
Built-up roofing (BUR) is the traditional “tar and gravel” system, consisting of layers of asphalt and felt topped with gravel.
If you are unsure which you have or want to compare options for a future replacement, our guide on the best material for a flat roof breaks down each type by cost, lifespan, and best use.
The core repair follows six steps, from drying the area to verifying the fix. The general sequence is the same for all membranes; the specific patch material depends on your roof type, covered in the next section.
Stop active water intrusion first. If it is raining, cover the damaged section with a tarp weighted down at the edges, then wait for the area to fully dry, because no patch or adhesive will bond to a wet membrane.
Scrub the area with a membrane-appropriate cleaner to remove dirt, grease, and loose material. A clean surface is essential, since most flat roof patches fail when they are applied over residue or moisture.
Cut into a blister or lift a failed seam to check what is underneath. If the insulation or deck below is wet or rotted, that material must be removed and replaced before any surface patch will hold.
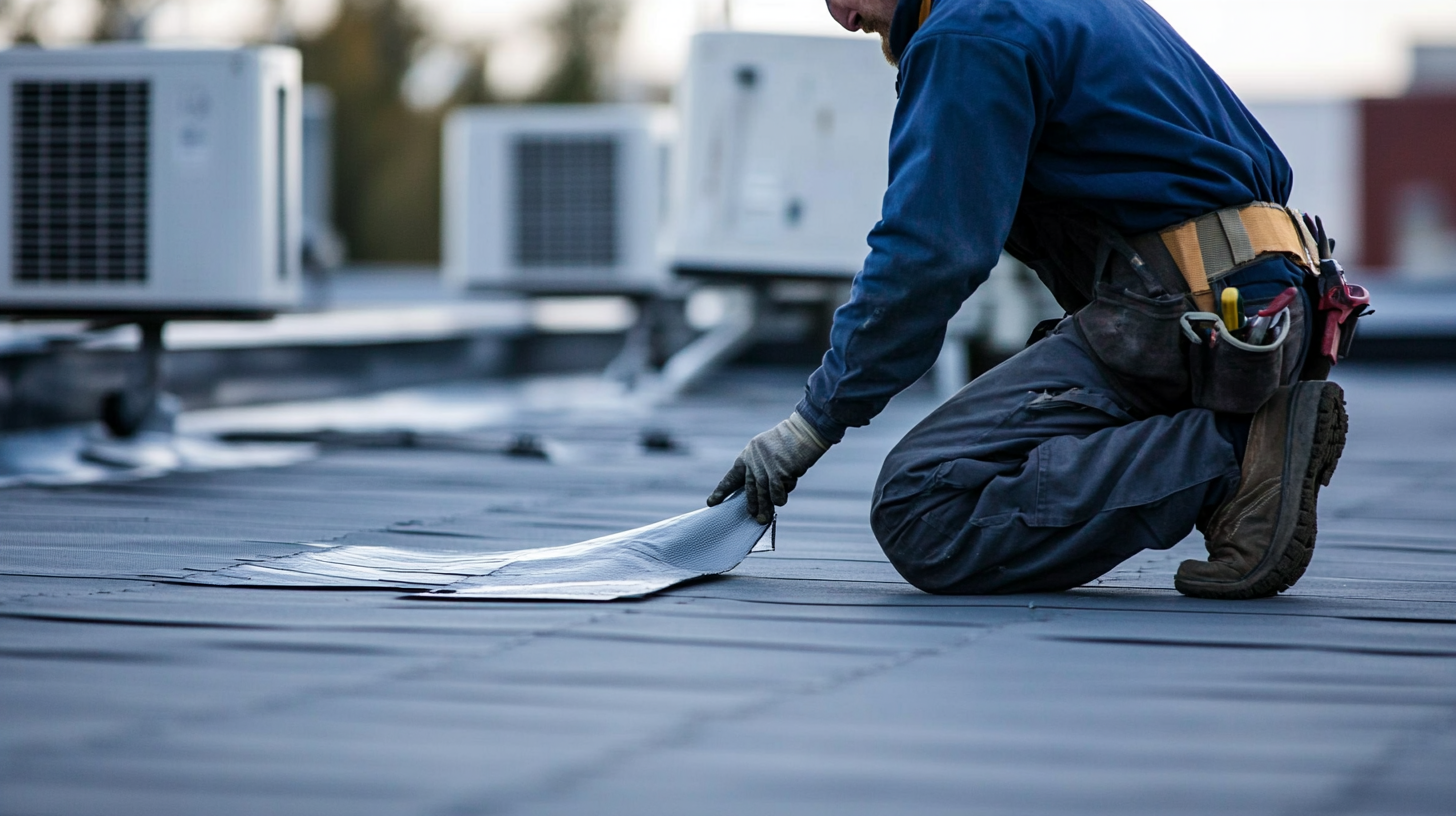
Cut a patch of compatible membrane several inches larger than the damaged area on all sides, with rounded corners to prevent the edges from peeling. Bond or weld it according to your membrane type, as described in the next section.
Seal the entire perimeter of the patch with the sealant that matches your membrane. Edges and seams are where repairs most often fail, so this step determines how long the fix lasts.
After the next rain, or by flooding the area again, confirm that the leak has stopped both on the surface and at the interior stain. A repair that looks fine on top can still leak if the edge seal is incomplete.
The patch method changes with the membrane, even though the overall steps stay the same. Match the technique to your roof type.
Clean the area with EPDM cleaner, apply EPDM primer, then bond an EPDM cover patch or seam tape over the damage and press it firmly with a roller. For small punctures, a primed rubber patch is usually sufficient; do not use general-purpose caulk, as it will not bond to EPDM.
Repair thermoplastic membranes with a heat-welded patch using a hot-air welder. Clean the surface, cut a rounded patch of matching membrane, weld it into place, roll it down, and seal the cut edge. Without a hot-air welder, this is a job for a professional, because adhesive patches do not hold reliably on TPO or PVC.
Patch modified bitumen with a matching membrane piece set in roofing cement or torch-applied, depending on the original system. For small cracks, embed reinforcing fabric in the roof mastic and cover it with a second coat of mastic.
Repair a built-up roof by removing the gravel, cutting out the damaged felt, and rebuilding the area with roofing cement and reinforcing fabric in alternating layers. Re-cover the patch with gravel to protect it from UV exposure once the cement sets.
Most flat roof leaks trace back to a handful of recurring trouble spots. Each one has a specific fix.
Reseal or re-weld separated seams using the method for your membrane, then run seam sealant along the edge. Seams are the single most common source of flat roof leaks.
Remove cracked or lifted flashing at walls, parapets, and curbs, then install and seal new flashing compatible with the membrane. Flashing failures let water in where the roof meets a vertical surface.
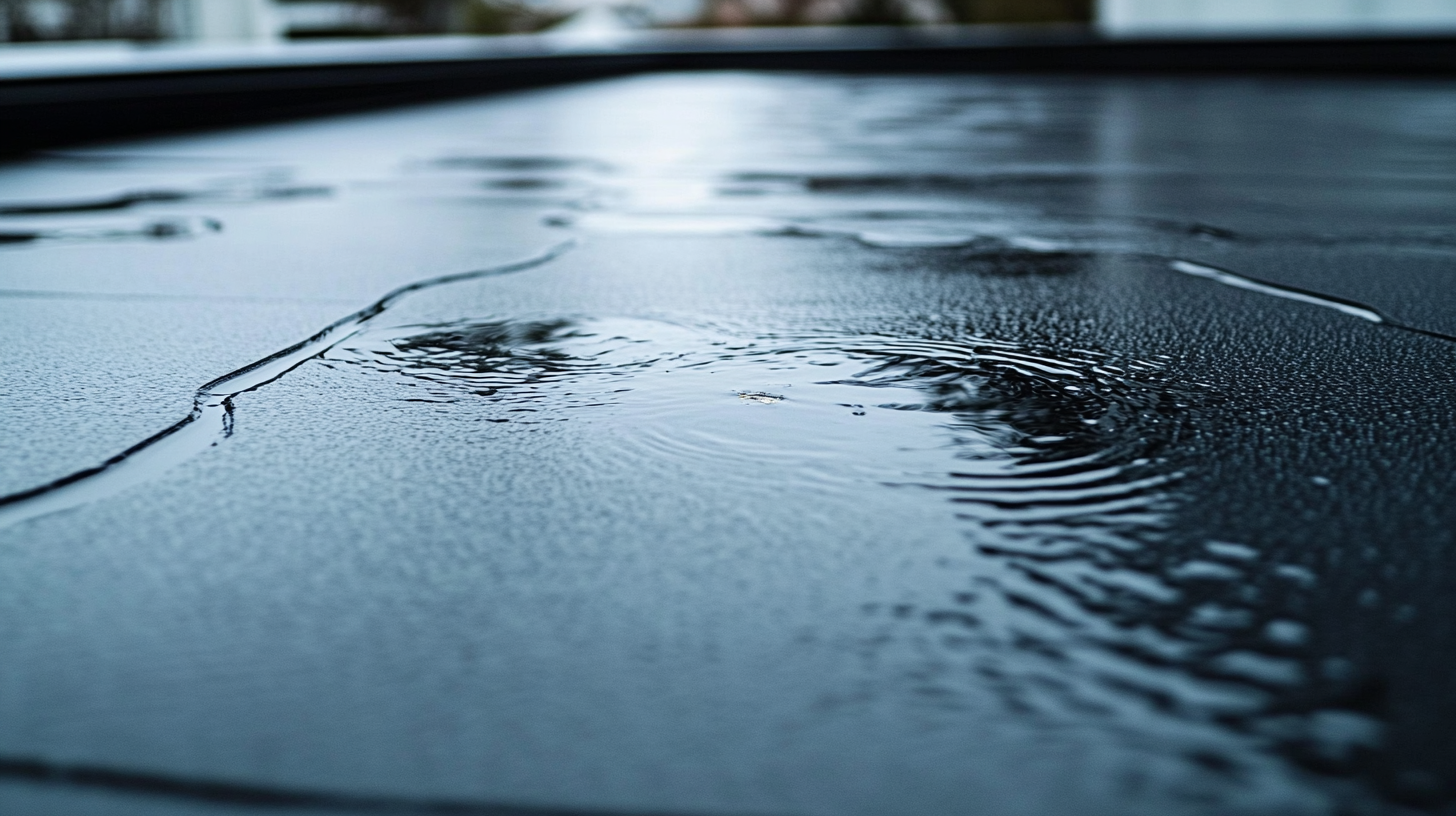
Ponding water that remains more than 48 hours after rain accelerates membrane breakdown and must be addressed at the cause. Clear blocked drains and scuppers, and for persistent ponding, add tapered insulation or additional drainage to move water off the roof.
Cut open the blister, let the trapped moisture dry fully, then patch over the opening with a compatible membrane. Leaving a blister intact lets it grow until it splits and leaks.
Remove the old, dried sealant around vents, drains, and pipes, and reapply a sealant or pourable sealer pocket rated for your membrane. Penetrations flex and heat-cycle, so their seals fail sooner than the roof field.
The right level of repair depends on how widespread the damage is. Three options cover most situations.
A patch is the right choice for a localized leak when the rest of the membrane is sound. It is the fastest and cheapest fix and restores full protection to an isolated spot.
A roof coating, such as silicone or acrylic, makes sense when the membrane is structurally intact but worn across the surface with aging seams. A coating seals the entire roof and extends its life, but it cannot fix wet insulation or a failing deck, and it requires a clean, dry, properly prepared surface to bond to.
Replacement becomes the better long-term option when the membrane has failed across a wide area, the insulation is saturated, the deck is rotted, or the roof leaks again after repeated repairs. For choosing a replacement system, our complete guide to commercial flat roofing compares the main systems and their installation.
Some flat roof leaks are beyond a safe or lasting DIY repair. A professional is the right call in several situations.
TPO and PVC repairs require a hot-air welder and the experience to weld a watertight seam, which most homeowners lack. Without that equipment, an adhesive patch on a thermoplastic membrane will not hold.
Widespread ponding usually points to a drainage or slope problem rather than a single puncture. Correcting it means adding tapered insulation or extra drains, not just sealing the surface.
Wet insulation or a rotted deck means the damage is structural, not just on the surface, and patching over it only traps moisture. Recurring leaks that return after a repair have a hidden source that needs a trained eye to trace.
Warranty and insurance are practical factors as well. DIY work can void a membrane manufacturer’s warranty, while storm damage is often covered by insurance when a licensed contractor documents it.
For flat roofs in New Jersey, our team identifies the root cause and makes lasting repairs through our professional roof leak repair service. For aging or failing membranes that need more than a patch, we also handle flat commercial roof replacement and installation. Every job starts with an inspection that confirms the cause before any work begins.


Embark On Your Build With Us!
we will be in touch with you soon
