
6 min read
Jun 23, 2026
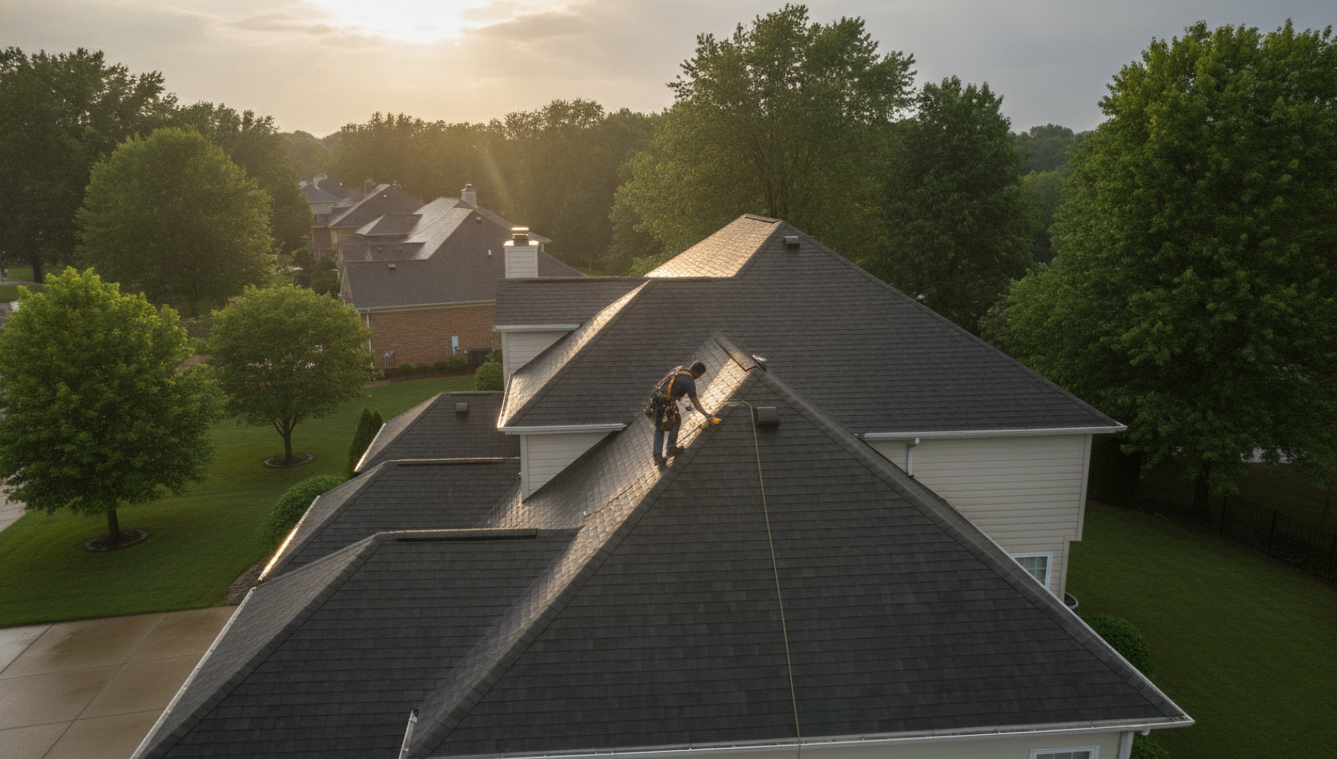
A roof leak is water entering your home through a failure in the roof’s protective layers – shingles, flashing, underlayment, or sealant. Caught early, most leaks can be repaired in a few hours; left alone, they spread into the decking (the wood layer beneath the shingles), insulation, and ceilings, turning a small fix into a major repair. This guide walks through how to find the source, fix it safely, and recognize when the job needs a professional.
Roof leak repair requires a few basic materials and tools, plus safe working conditions. Gather everything before you climb up, because moving on and off the roof repeatedly increases the risk of a fall.
Tools and materials you’ll need:
Only work on a dry roof in calm, dry weather. Wet or icy surfaces are dangerous, and most sealants will not bond to a damp surface.
Do not attempt a DIY repair on a steep, high, or multi-story roof, or if you are uncomfortable working at heights. Those situations call for a professional with proper fall protection.
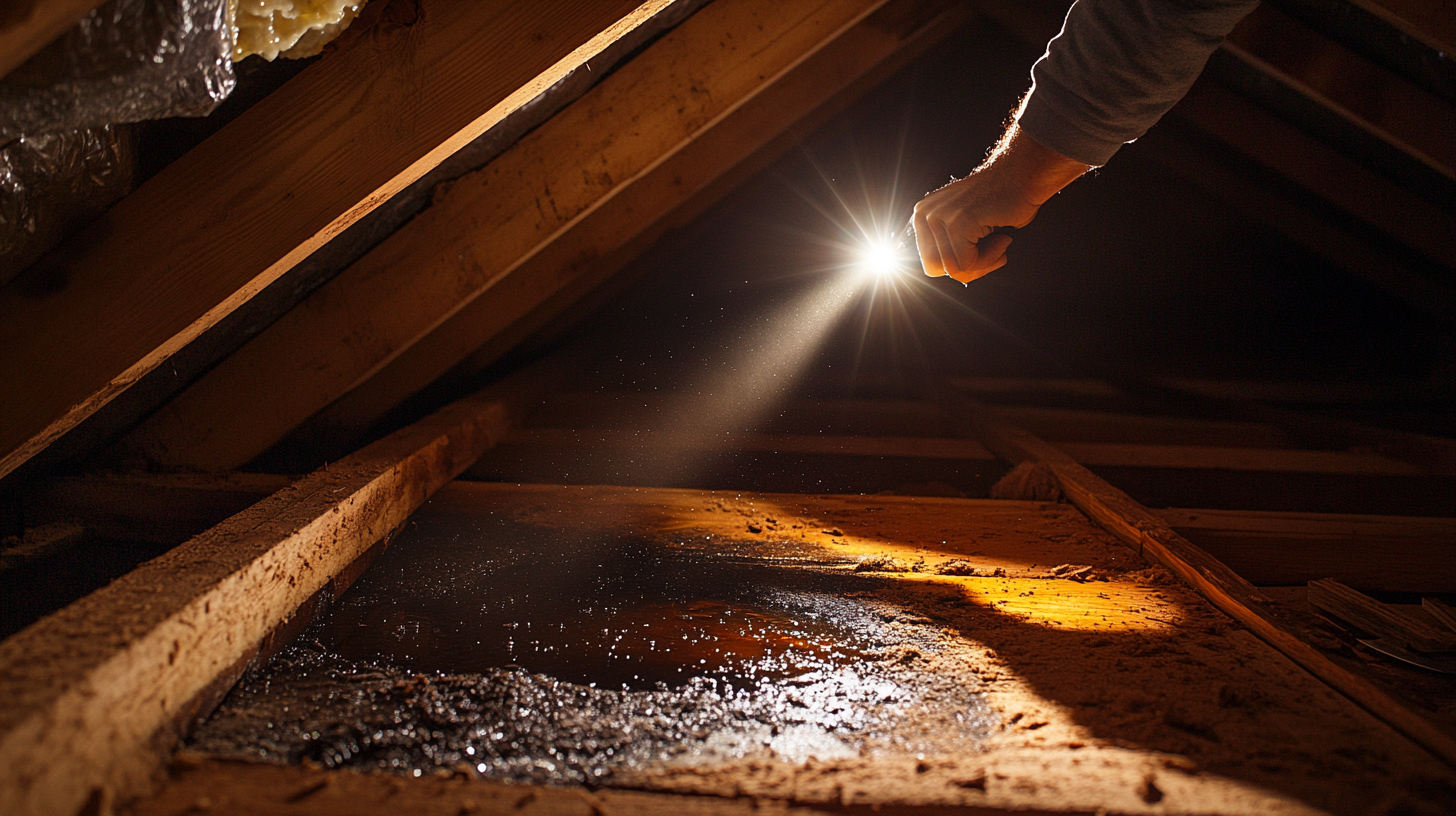
Water rarely enters the roof directly above where it shows up inside. It travels along rafters, decking, and insulation before dripping, so the stain on your ceiling is usually downhill from the actual entry point. Find the source before you repair anything.
Start in the attic during or right after rain. Use a flashlight to look for active drips, water stains, dark or wet wood, mold, or daylight showing through the roof deck. Follow any water trail upstream to its highest point, that is, to the spot closest to the entrance.
If the attic gives no clear answer, run a hose test with a helper. One person sprays water on the roof, section by section, while the other watches inside for the moment when water appears. Soak one area for several minutes before moving up, so you can isolate the exact spot.
Most leaks originate at a small number of predictable points:
Once you have located the entry point, match the repair to what you find there.
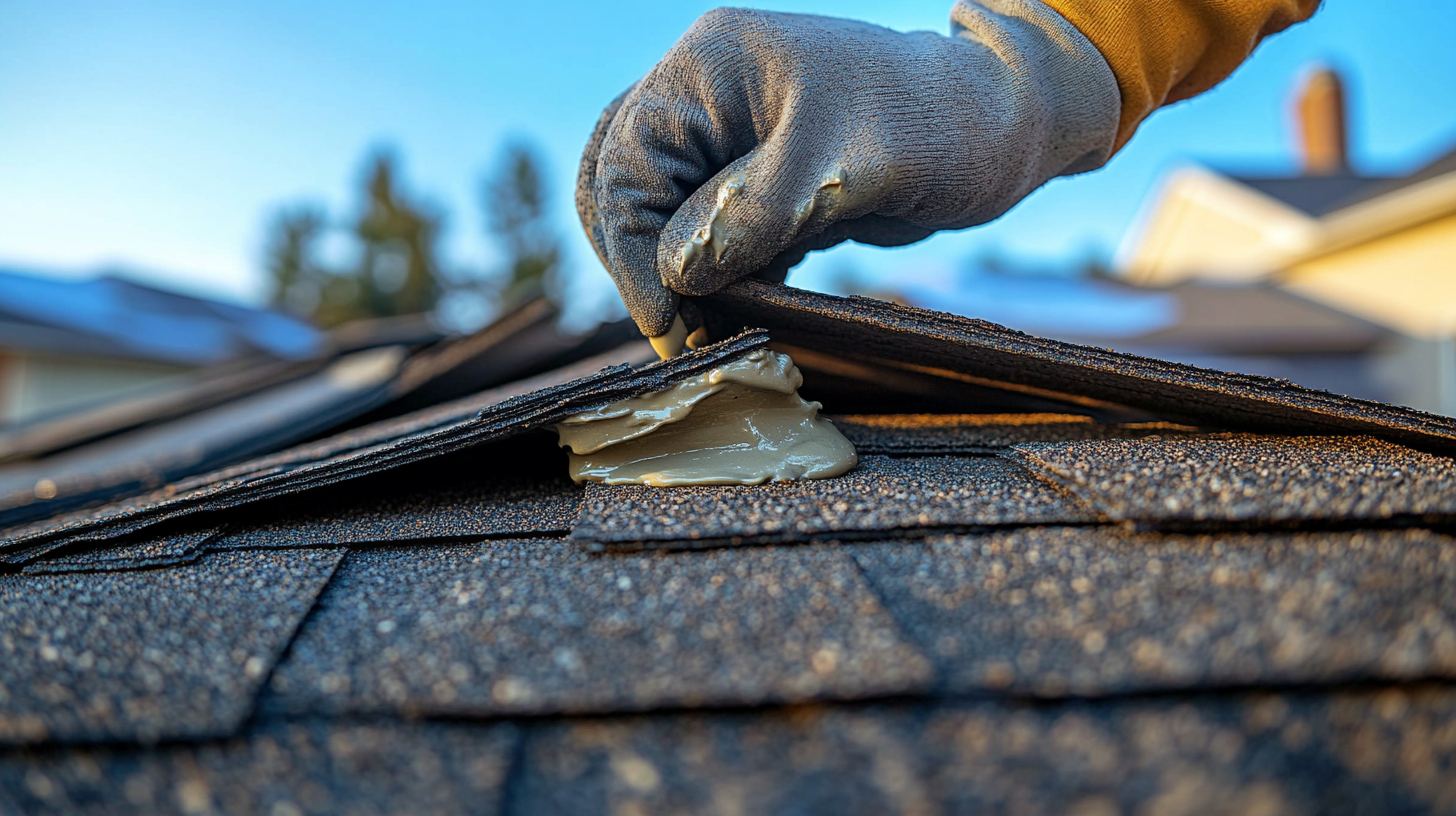
The core repair follows five steps, from protecting the area to verifying the fix. The same sequence applies to most shingle-roof leaks; the specific patch depends on the source, covered in the next section.
If it is actively raining or you cannot repair immediately, cover the leak with a tarp that extends over the roof ridge and weigh down the edges. A tarp or a bead of sealant is only a temporary measure – it stops water now, but does not restore the roof. A permanent repair means replacing or properly sealing the failed material so the area sheds water on its own.
Remove debris, loose granules, and old, crumbling sealant. Sealants and cement bond only to a clean, dry surface, so let the area dry fully before continuing.
Lift the surrounding shingles with a pry bar and pull the nails from the damaged shingle or section. Take out cracked shingles, corroded flashing, or worn vent boots completely – leaving damaged material in place causes the leak to return.
Slide a matching replacement shingle into the gap and nail it down, or install new flashing or a new vent boot as needed. If the underlayment (the water-resistant layer under the shingles) or the decking beneath is soft or rotted, that wood must be replaced before the surface goes back on.
Apply roofing cement under shingle edges and over nail heads, and seal the perimeter of any new flashing. After the next rain, check the attic and ceiling to confirm the leak has stopped.
The scope of repair drives the final price. For detailed New Jersey cost ranges by damage size and roofing material, see our guide on how much it costs to repair a roof leak.
The right repair depends entirely on where the water is getting in. Each common source has a specific fix.
Lift the shingles above it, remove the damaged one, slide in a matching replacement, nail it, and seal the nail heads with roofing cement.
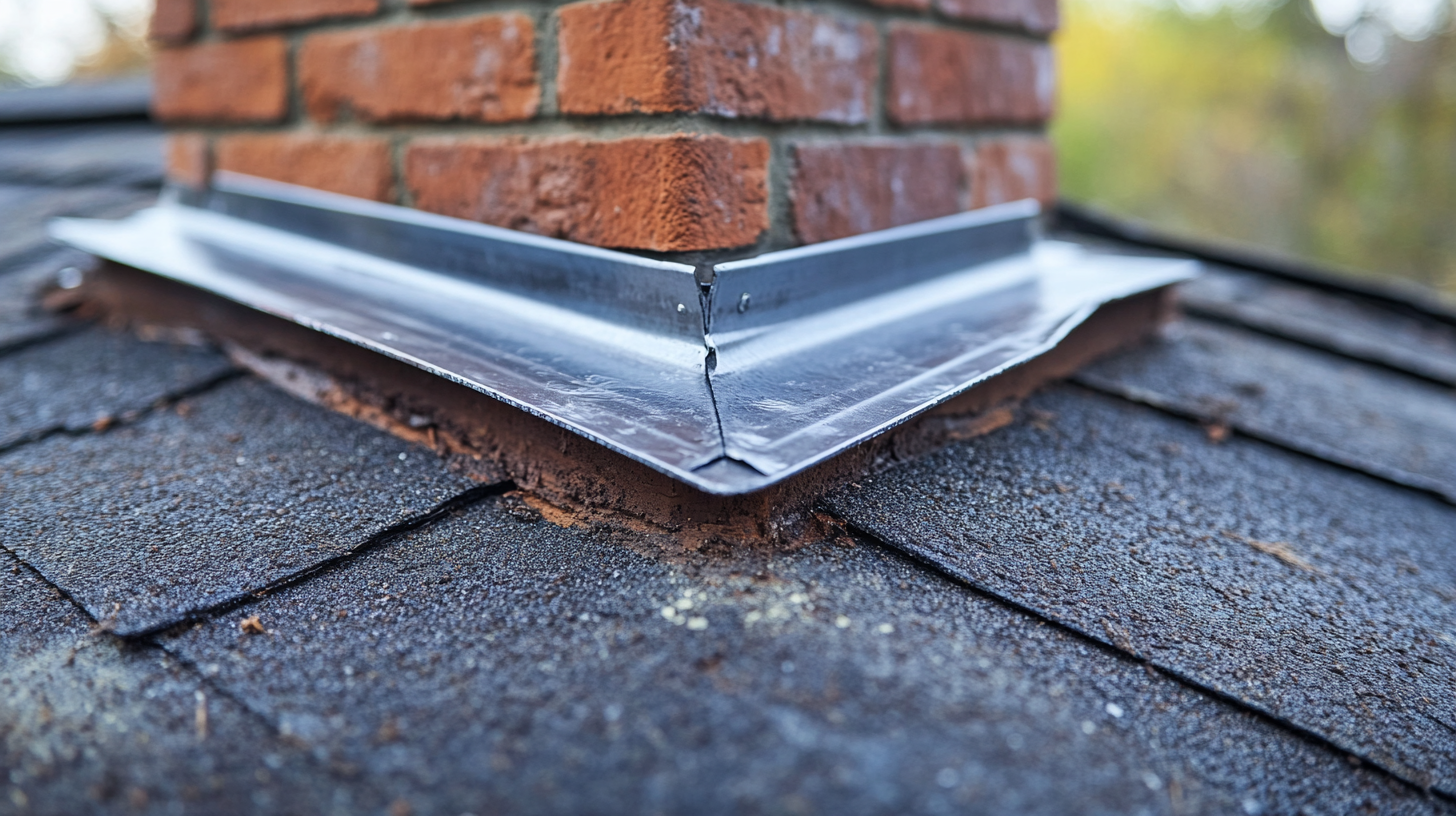
Remove the old flashing, install new metal flashing tucked under the surrounding shingles and into the masonry joint, and seal the edges with roofing cement. Loose-but-intact flashing can sometimes be resealed rather than replaced.
Replace the cracked rubber boot around the plumbing vent pipe with a new one, slide its flange under the upper shingles, and seal the edges. A temporary fix is to seal the cracked boot, but worn rubber will fail again.
Reseal the skylight flashing and the seam between the glass and frame. If the leak comes from the glass seal itself rather than the flashing, the skylight unit likely needs servicing or replacement.
Clear debris from the valley, then check the valley flashing or membrane underneath. Reseal or replace the metal where it is corroded or lifted, since valleys carry the highest water volume on the roof.
Drive the nail back down or remove it, then cover the hole with roofing cement. Exposed nail holes are a frequent yet easily missed source of leaks.
In regions like New Jersey and Pennsylvania, water can back up under shingles when snow melts and refreezes at the eaves. The leak appears near the roof edge or in exterior walls. The immediate step is to clear the ice and improve attic insulation and ventilation; recurring ice dams usually need a professional to install ice-and-water shield along the eaves.
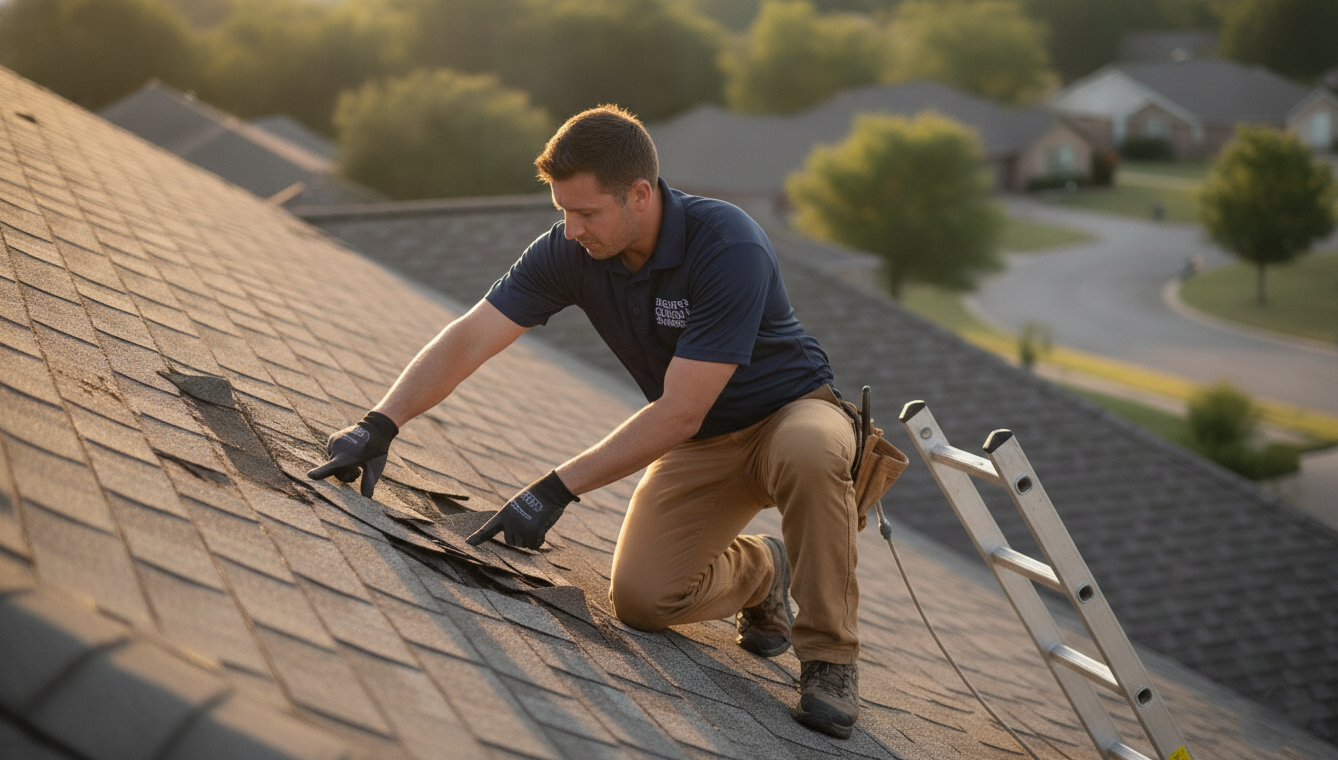
Some roof leaks are beyond a safe or lasting DIY repair, and forcing the fix yourself can cost more in the long run. A few situations call for a licensed roofer rather than a homeowner patch.
Structural or widespread damage is the clearest signal. Rotted decking, a sagging roofline, or several leak points at once mean the problem runs deeper than the surface, and a simple patch will not hold. The same applies to steep, high, or multi-story roofs, which require proper fall protection and experience to work on safely.
A leak that keeps coming back after a repair is another reason to bring in a professional. Recurring leaks usually have a hidden source that an untrained eye misses, and each failed attempt lets more water into the structure. During an active storm or heavy water intrusion, large or fast leaks also need to be stabilized and assessed quickly, which is difficult to do safely on your own.
Warranty and insurance are practical considerations as well. DIY work can void a manufacturer’s warranty, while storm damage is often covered by homeowner’s insurance when it is documented by a licensed contractor.
For homeowners in New Jersey, our team handles diagnosis and lasting repairs through our professional roof leak repair service. Every job starts with a free inspection that confirms the true source before any work begins.


Embark On Your Build With Us!
we will be in touch with you soon
